When it comes to building a complete physique, your form matters.
Using proper form will maximize your gains in muscle and strength but more importantly will minimize your risk of injury.
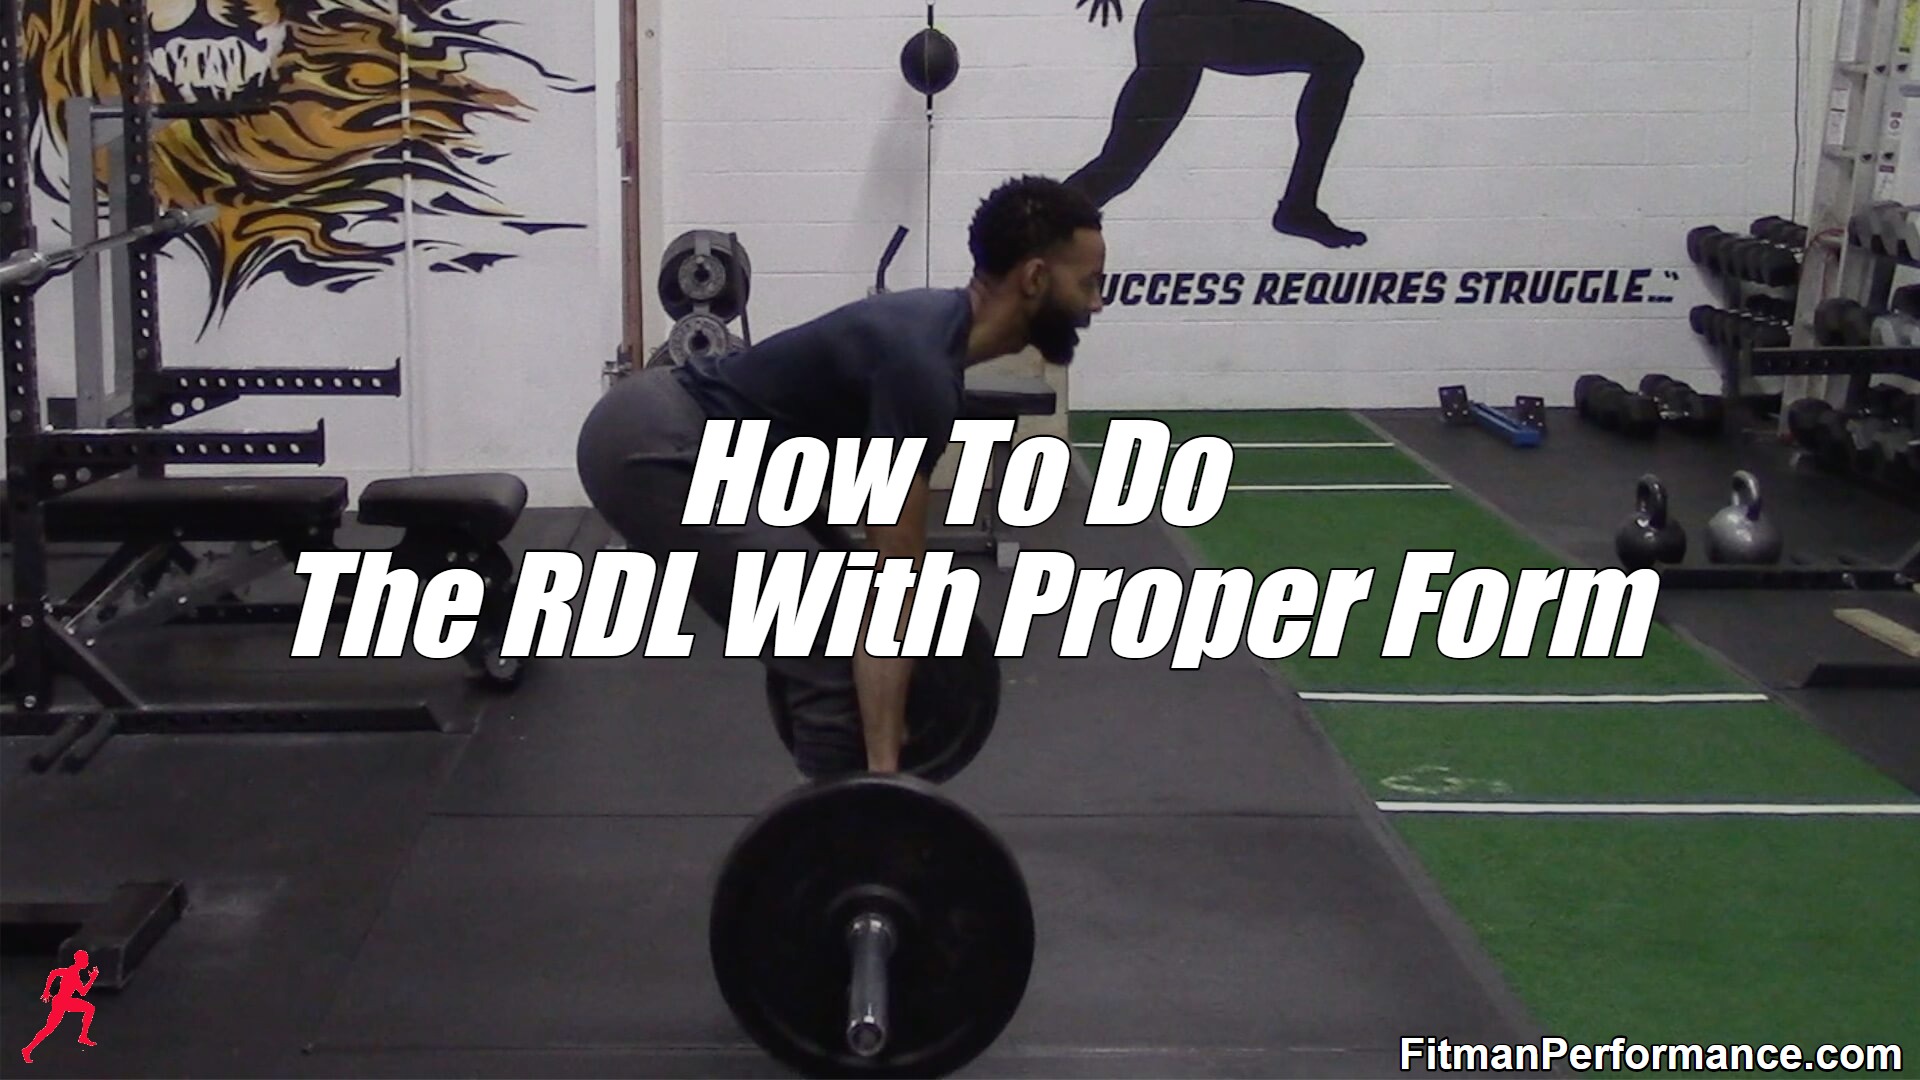
Unfortunately in gyms all across the world, the bad form plague runs rampant throughout all exercises especially the Romanian Deadlift also known as the RDL.
There are many videos online that display lifters doing the RDL with horrendous form. These videos can only be described as an absolute disaster.
Using poor form in the RDL can lead to a serious lower back injury. When your lower back is compromised, everything movement you make in your life will suffer.
Here are 5 cues (plus bonus cues) that will show you how to do the RDL with the proper form.
1) The First Rep Is A Conventional Deadlift
Too many times in my career in the iron game I have seen the first rep of an RDL look like a butchering of the back.
Many lifters and trainees saunter over to the barbell with no plan as to how they are going to actually lift the bar.
The mental preparation part of the iron game is what separates winners and losers.
If you visualize your reps and know exactly how each rep will look and feel, you will always see great gains with your physique and performance.
If you are just trying to get the set done with no attention to detail, you will eventually set yourself up for a lower back injury and your progress will always be stagnated.
To begin the RDL, the first rep should look just like a conventional deadlift. You will:
• Bend over and pull the slack out of the bar
• Sink your hips down below your shoulders
• Get your eyes forward and chest up
• Tense up your lats and upper back
• Initiate the lift by driving your feet through the floor
After you perform the first rep we will transition into the next cue.
2) Initiate The Movement By Hinging At The Hips
I have seen many trainees and lifters try to squat down during the lowering phase of the RDL. This only serves to totally defeat the purpose of the movement.
The main benefits of the RDL are to build your back, hamstrings, and glutes. This will only happen if you initiate the descent by hinging at the hips.
When you begin to bend over imagine there is a wall a few yards behind you. You want your goal to be to put your butt on that wall.
Obviously this will not happen. But when you attempt to do this, you will shift the emphasis of the movement exactly where it needs to be which is your posterior chain.
3) Maintain A Flat Back
So an absolute surefire way to completely destroy your back is to try to perform RDL’s with a rounded back.
When you perform RDL’s with a back that looks like a half moon, you add a tremendous amount of strain to your lower back.
This excessive strain from using poor form will ultimately lead to a total disaster.
To maximize your gains from the RDL, you have to lock in your upper body positioning from the top down, before you begin to descend into the movement.
You can accomplish this by bringing your shoulders back and keeping your chest in the air.
When you do this and maintain these cues throughout the repetition, you will lock your back into the proper position.
This will enable your lower back to not have to do more work than it can handle.
4) Keep The Bar Close To You
So have you ever woke up after doing RDL’s and thought “I broke my back!”
I have seen folks not be able to walk right for days and weeks after performing the RDL with horrendous form.
While some misguided lifters and trainees could see this as a badge of honor, there is nothing great about having debilitating and life-altering soreness from lifting.
This next cue is arguably the most important cue in this series as the placement of the bar in relation to your body directly impacts where the stress of the RDL will go.
What I am about to say is of extreme importance when it comes to a phenomenal performance in the RDL. Pay attention.
Even if you performed the first 3 cues with sublime form, you can still get folded if the barbell gets away from you.
The more distance that is created between your lower back and the barbell as you are descending increases the chances of you landing in the ER or retiring from deadlifting forever.
The solution to this is that you and the bar have to become one.
You and the bar have to be married and go out on dates.
You have to buy the bar flowers and spend the holidays with the bar.
You and the bar sleep in the same bed every single night!
As you descend the bar should be in contact with your legs and when you rise back up, the bar should stay in contact with your legs.
For the duration of the set, you want to feel the bar on you.
I suggest you wear sweats/joggers, tights, or other workout pants if you want to avoid possibly damaging your skin with the bar.
If you do not keep the bar close to you, then you surely will be telling someone this:
5) Create A Slight Bend In Your Knees
Exercise is all about directing the stress of a movement to the proper place. This is how you see the best gains.
For example performing squats and only feeling your lower back is doing nothing for your legs.
In the RDL, your main goal is for your glutes, hamstrings, and upper/middle back to be handling the brunt of the work.
You can accomplish this by creating a slight bend in your knees when you descend during the movement.
When you perform your RDL’s in this manner you will really feel your hamstrings and glutes dominating the movement.
If you keep your legs straight and your knees hyper-extended, you will put all of the stress on your lower back. Your hamstrings and glutes will be minimized.
Your lower back is the most important muscle you have because if it is compromised in any way, your life will be impacted negatively.
It stinks when you can barely sit down or get out of the car because of a blown back.
Bonus Cues
So there are two primary ways on how to perform your repetitions with the RDL. They are:
1) Touch And Go Reps
For touch and go reps, you will kiss the floor with the plates as you descend towards the floor.
The plates kissing the floor should resemble a kiss from a first date: GENTLE!
This is not the time to perform the ever so popular smash the plates into the floor style reps (smash and go reps) you commonly see in gyms around the world.
2) Hover Reps
Hover reps are my preference because they keep constant tension on your backside.
As you descend towards the floor you will rise back up right before the plates kiss the floor. When the set is over you will temporarily have a different gait.
Sample Workouts
Replace one of your weekly lower body workouts with one of these workouts below:
A) RP-21 (Read up on the program here)
• Deadlift 7×3
• RDL 6×5
• Barbell Hip Thrust 6×5
• Seated Calf Raises 6×10
B) 4 x 3 plus volume
• Squat SS GHR 4×3
• RDL SS Barbell Reverse Lunges 5×10
• Standing Calf Raises 4×12
• Rest 1 minute between moves and then 2 minutes between sets of the 4×3 series
• Rest 60-90 seconds between moves and then 2 minutes between sets of the 5×10 series
• Rest 1 minute between sets of the 4×12 series
I’ll holla at you next time.
The People’s Trainer
Fitman


[…] Barbell Hip Thrusts • Bulgarian Split Squats (barbell or dumbbell) • RDLs • Hip/Back Extensions (barbell or dumbbell) • Reverse Lunges (barbell or […]